Mastering Video Editing Basics: Your Beginner's Guide
Unlock the world of content creation! Learn the essential video editing basics, software choices, fundamental techniques, and workflow steps for beginners.
Table of Contents
- Choosing Your Video Editing Software (NLE)
- Understanding the Video Editing Workflow
- Essential Video Editing Techniques for Beginners
- Advanced Concepts: Exporting and Optimization
- Popular NLE Options for Beginners and Pros
- Step 1: Ingest and Organization
- Step 2: Assembly and Rough Cut
- Step 3: Fine Cut and Pacing
- Step 4: Audio Editing and Sound Design
- Step 5: Color Correction and Grading
- The J-Cut and L-Cut
- Trimming and Splitting Clips
- Keyframing and Motion Graphics
- Understanding Codecs and Containers
- Resolution, Frame Rate, and Bitrate
Are you ready to transform raw footage into compelling stories? In today's digital landscape, video content reigns supreme, but simply recording a video is only half the battle. The real magic happens in post-production. If terms like 'timeline,' 'cutting,' and 'color grading' sound daunting, don't worry. This comprehensive guide to Video Editing Basics is designed to demystify the process, turning you from a novice viewer into a confident creator. We will explore everything from choosing the right software to mastering essential techniques, ensuring you have the foundation needed to start producing professional-looking videos today. Let's dive into the exciting world of video post-production!
Choosing Your Video Editing Software (NLE)
The first step in learning Video Editing Basics is selecting the right Non-Linear Editor (NLE). An NLE is the software you use to arrange, modify, and enhance your footage. Your choice often depends on your budget, operating system, and skill level.
Popular NLE Options for Beginners and Pros
- DaVinci Resolve: Known for its industry-leading color correction and powerful features. The free version is incredibly robust, making it excellent for beginners and professionals alike.
- iMovie (Mac/iOS): A fantastic entry point for Apple users. It's free, intuitive, and great for quick edits and learning the fundamental principles of the timeline.
- CapCut/InShot (Mobile): Perfect for editing short-form content directly on your phone, focusing on speed and social media optimization.
- Adobe Premiere Pro: The industry standard for many professionals. It offers deep integration with other Adobe Creative Cloud apps but requires a subscription.
- Final Cut Pro (Mac): A powerful, streamlined option favored by many video professionals, known for its speed and efficiency on Apple hardware.
Tip: Start with a free option like DaVinci Resolve or iMovie to grasp the workflow before investing in professional software.
Understanding the Video Editing Workflow
A structured workflow is crucial for efficient video post-production. Following these steps ensures you don't miss critical stages and keeps your project organized.
Step 1: Ingest and Organization
Before touching the timeline, import all your raw footage, audio files, and graphics into your NLE. Create a logical folder structure within your project (e.g., 'A-Roll,' 'B-Roll,' 'Music,' 'Graphics'). Proper media management saves countless hours later.
Step 2: Assembly and Rough Cut
This is where you build the narrative structure. Lay down all the main clips (A-Roll) in chronological order. The goal of the rough cut is to tell the story, ignoring pacing or polish for now. Remove all unusable takes, long pauses, and mistakes. Focus on the core message.
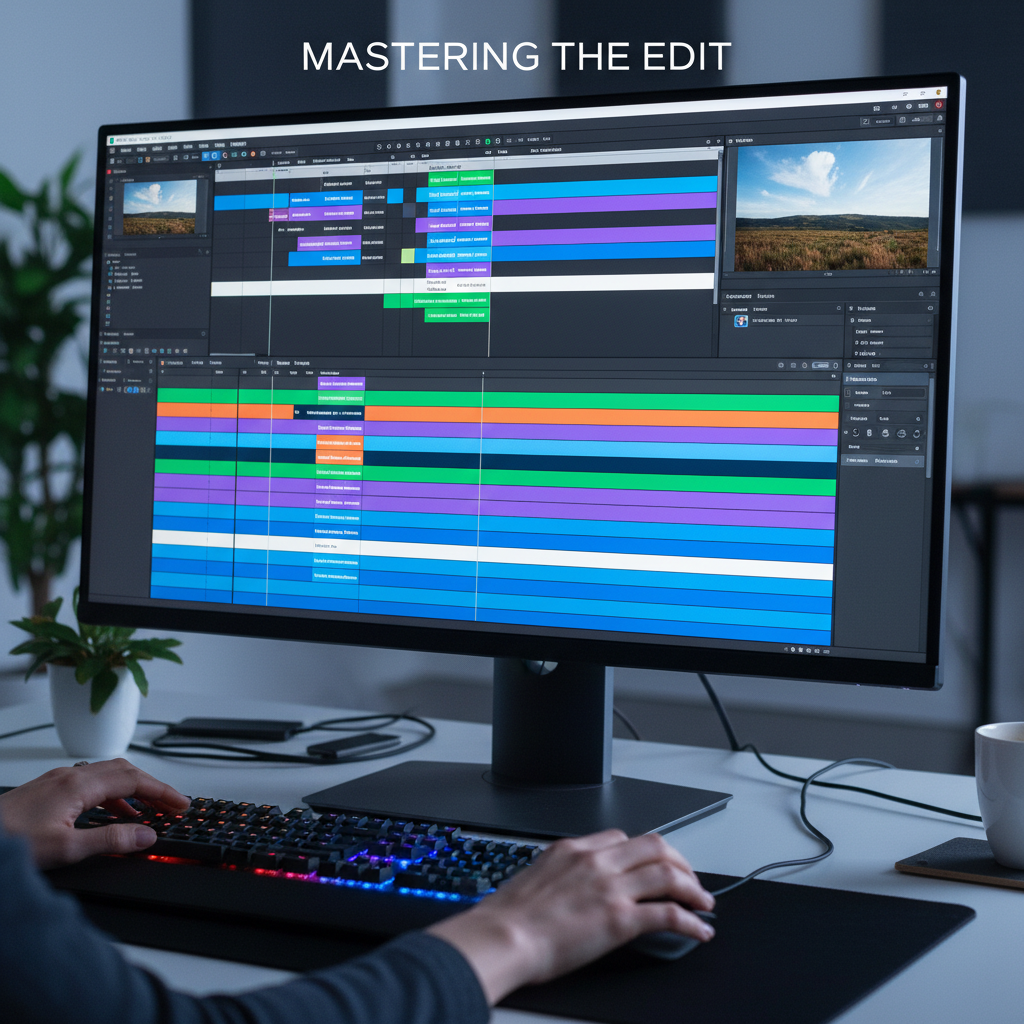
Step 3: Fine Cut and Pacing
Now, refine the transitions and timing. Tighten up the cuts, ensuring smooth flow between scenes. Introduce B-Roll (supplementary footage) to cover jump cuts and add visual interest. Pay close attention to the rhythm and pacing—a compelling video maintains viewer engagement through well-timed cuts.
Step 4: Audio Editing and Sound Design
Good audio is arguably more important than good video. Adjust volume levels (normalize dialogue), remove background noise, and add music and sound effects (SFX). Ensure music doesn't overpower dialogue. Sound design adds depth and emotional resonance to your final product.
Step 5: Color Correction and Grading
Color correction fixes technical issues (white balance, exposure) to make the footage look natural. Color grading is the creative process—applying a specific aesthetic or 'look' (e.g., warm, cinematic, moody) to enhance the emotional impact of the video. Consistency is key across all clips.
Essential Video Editing Techniques for Beginners
Mastering a few fundamental techniques will dramatically improve the quality of your content.
The J-Cut and L-Cut
These techniques are essential for seamless transitions, particularly in interviews or dialogue-heavy scenes:
- J-Cut: The audio from the next clip starts playing before the visual transition, hooking the viewer into the upcoming scene.
- L-Cut: The audio from the current clip continues playing after the visual has transitioned to the next scene, providing continuity.
Trimming and Splitting Clips
The most basic function is cutting. Use the razor tool to split clips and the trim handles to adjust the start and end points. Precision cutting ensures that every frame contributes to the story. Avoid leaving unnecessary 'air' or silence at the beginning or end of dialogue.
Keyframing and Motion Graphics
Keyframes allow you to animate parameters like scale, position, and opacity over time. This is how you create zooms, pans, or subtle movements on static images. Understanding keyframes is crucial for adding dynamic elements and basic motion graphics to your videos.
Advanced Concepts: Exporting and Optimization
The final stage is rendering and exporting your masterpiece. Choosing the correct export settings is vital for maintaining quality and ensuring compatibility across different platforms.
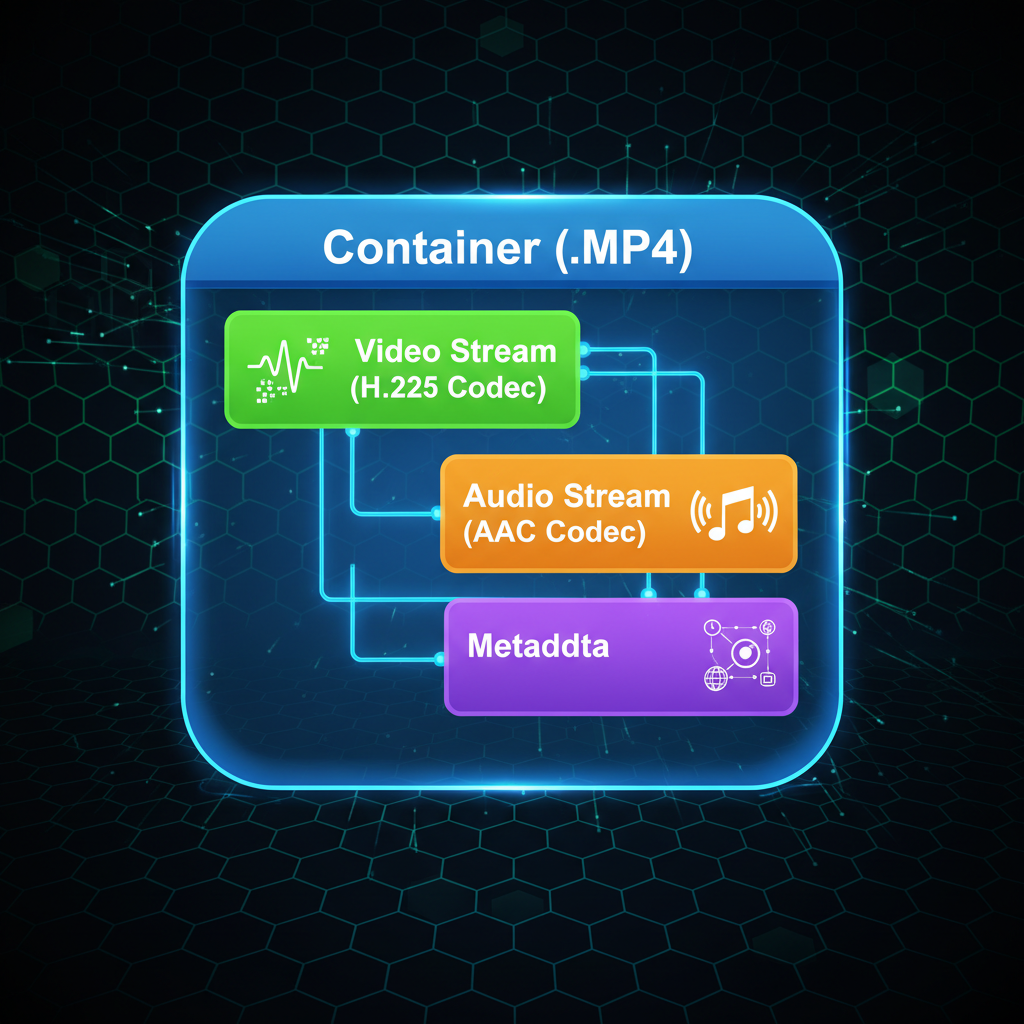
Understanding Codecs and Containers
A container (like .MP4, .MOV) holds the video, audio, and metadata. A codec (like H.264, H.265) determines how the video data is compressed and decompressed. For general web and YouTube use, the H.264 codec within an MP4 container is the standard choice, offering a great balance between file size and quality.
Resolution, Frame Rate, and Bitrate
- Resolution: Typically 1080p (Full HD) or 4K. Higher resolution means more detail but larger file sizes.
- Frame Rate (FPS): Usually 24fps (cinematic look), 30fps (standard TV/web), or 60fps (smooth action). Match your export FPS to your recording FPS.
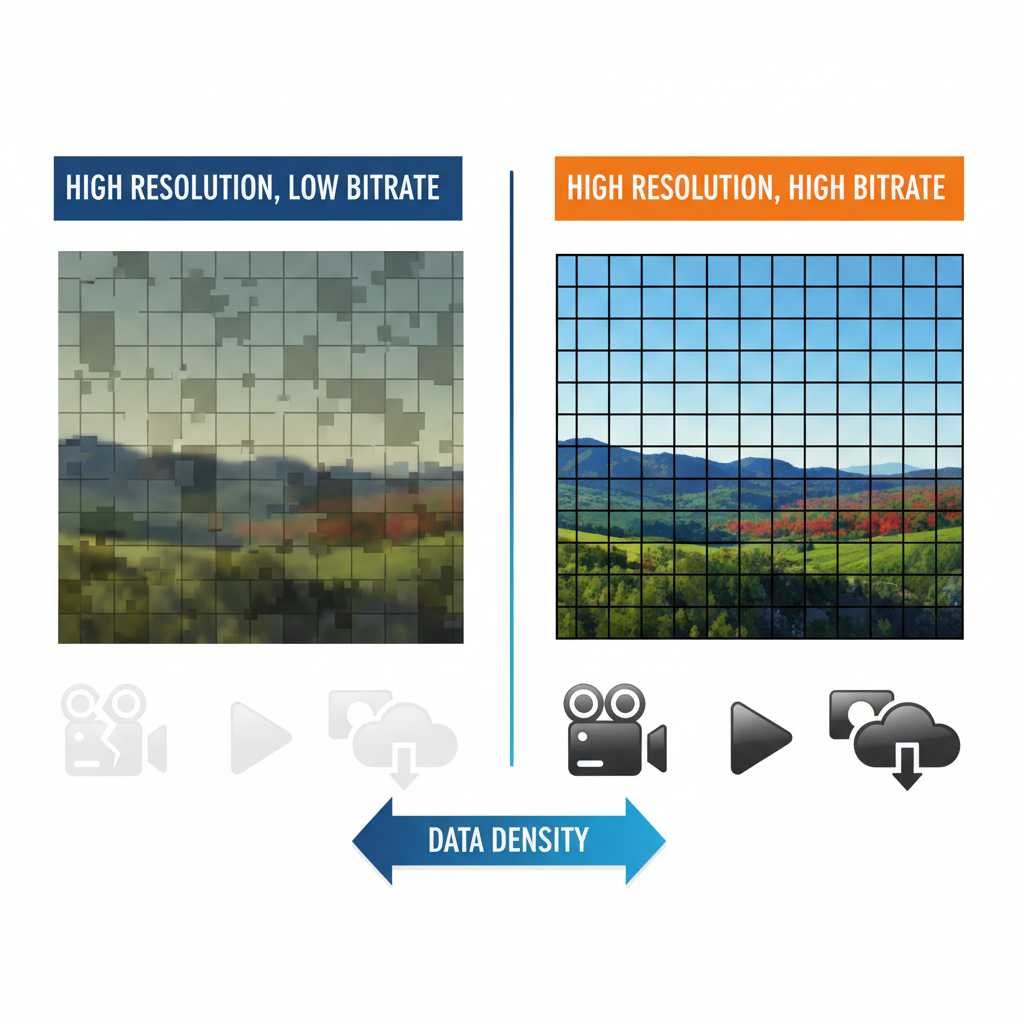
- Bitrate: This defines the quality level. A higher bitrate means less compression and better quality, but a much larger file. For 1080p YouTube uploads, a variable bitrate (VBR) targeting 10-15 Mbps is usually sufficient.
Optimizing these settings ensures your video looks sharp and loads quickly for your audience, completing the entire video creation process successfully.
Frequently Asked Questions
What is the best free software for beginners learning Video Editing Basics?
DaVinci Resolve is widely considered the best free professional video editing software. It offers powerful tools for editing, color correction, visual effects, and audio post-production, often rivaling paid alternatives. For Mac users, iMovie is also an excellent, user-friendly starting point.
What is the difference between color correction and color grading?
Color correction is the technical process of fixing errors in the footage, such as adjusting white balance and exposure, to make the image look natural and consistent across all clips. Color grading is the creative process of applying a specific aesthetic or style (e.g., a warm vintage look or a cool sci-fi feel) to enhance the mood and narrative of the video.
What is B-Roll and why is it important in video post-production?
B-Roll refers to supplementary footage used to illustrate what the speaker (A-Roll) is talking about, cover up jump cuts, or add visual variety. It is crucial for maintaining viewer engagement, breaking up monotony, and adding context to the narrative, making the final video much more professional and dynamic.
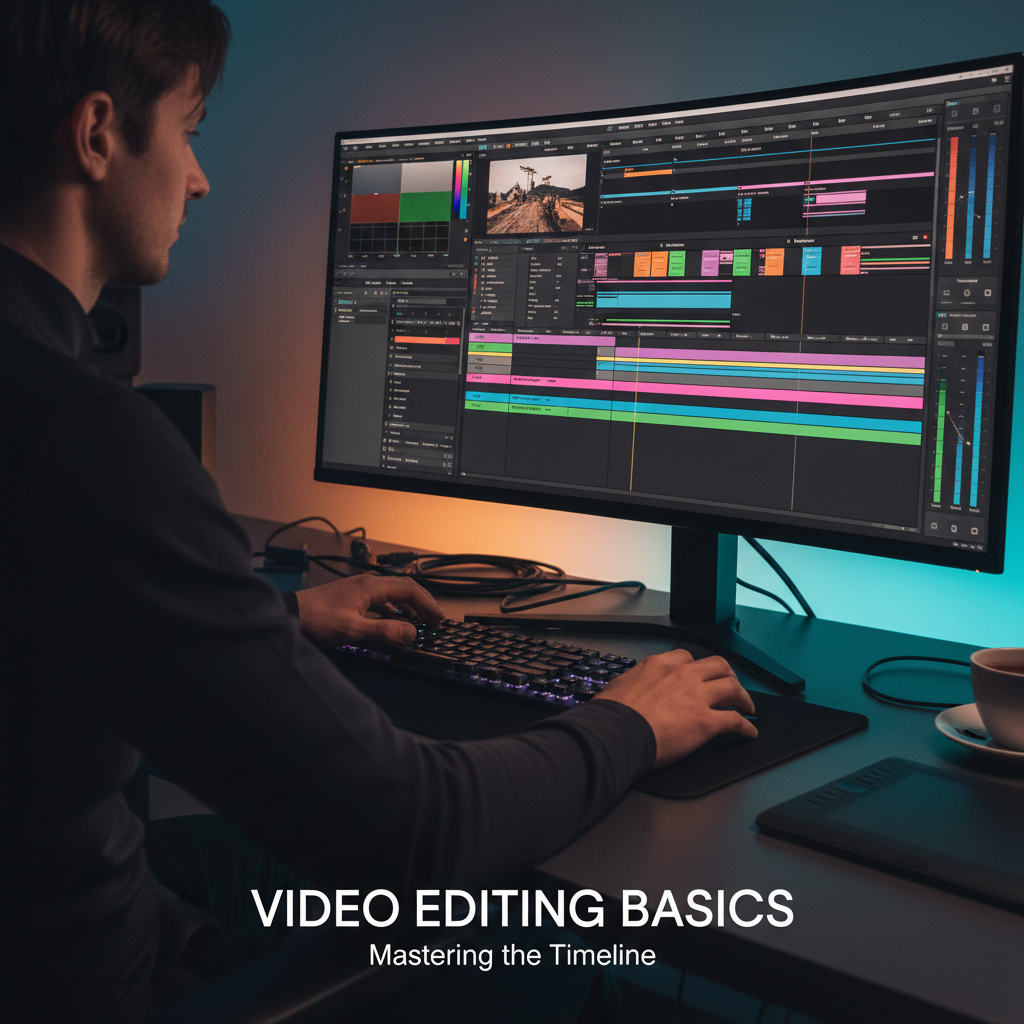
What is a timeline in video editing?
The timeline is the central workspace in any Non-Linear Editor (NLE). It is a linear representation of your video project where you arrange, trim, layer, and sequence all the elements—video clips, audio tracks, graphics, and effects—to create the final chronological flow of your film.
Conclusion
Learning Video Editing Basics is the gateway to unlocking immense creative potential. We’ve covered the essential steps: selecting your NLE, mastering the professional workflow, utilizing fundamental techniques like J-cuts, and optimizing your export settings. Remember that practice is the key to proficiency. Start small, focus on telling a clear story, and gradually incorporate more complex techniques like advanced color grading and sound design. The tools are accessible; now it’s time for you to start creating! Ready to take the next step? Download a free NLE today and begin editing your first project! Share your progress in the comments below!